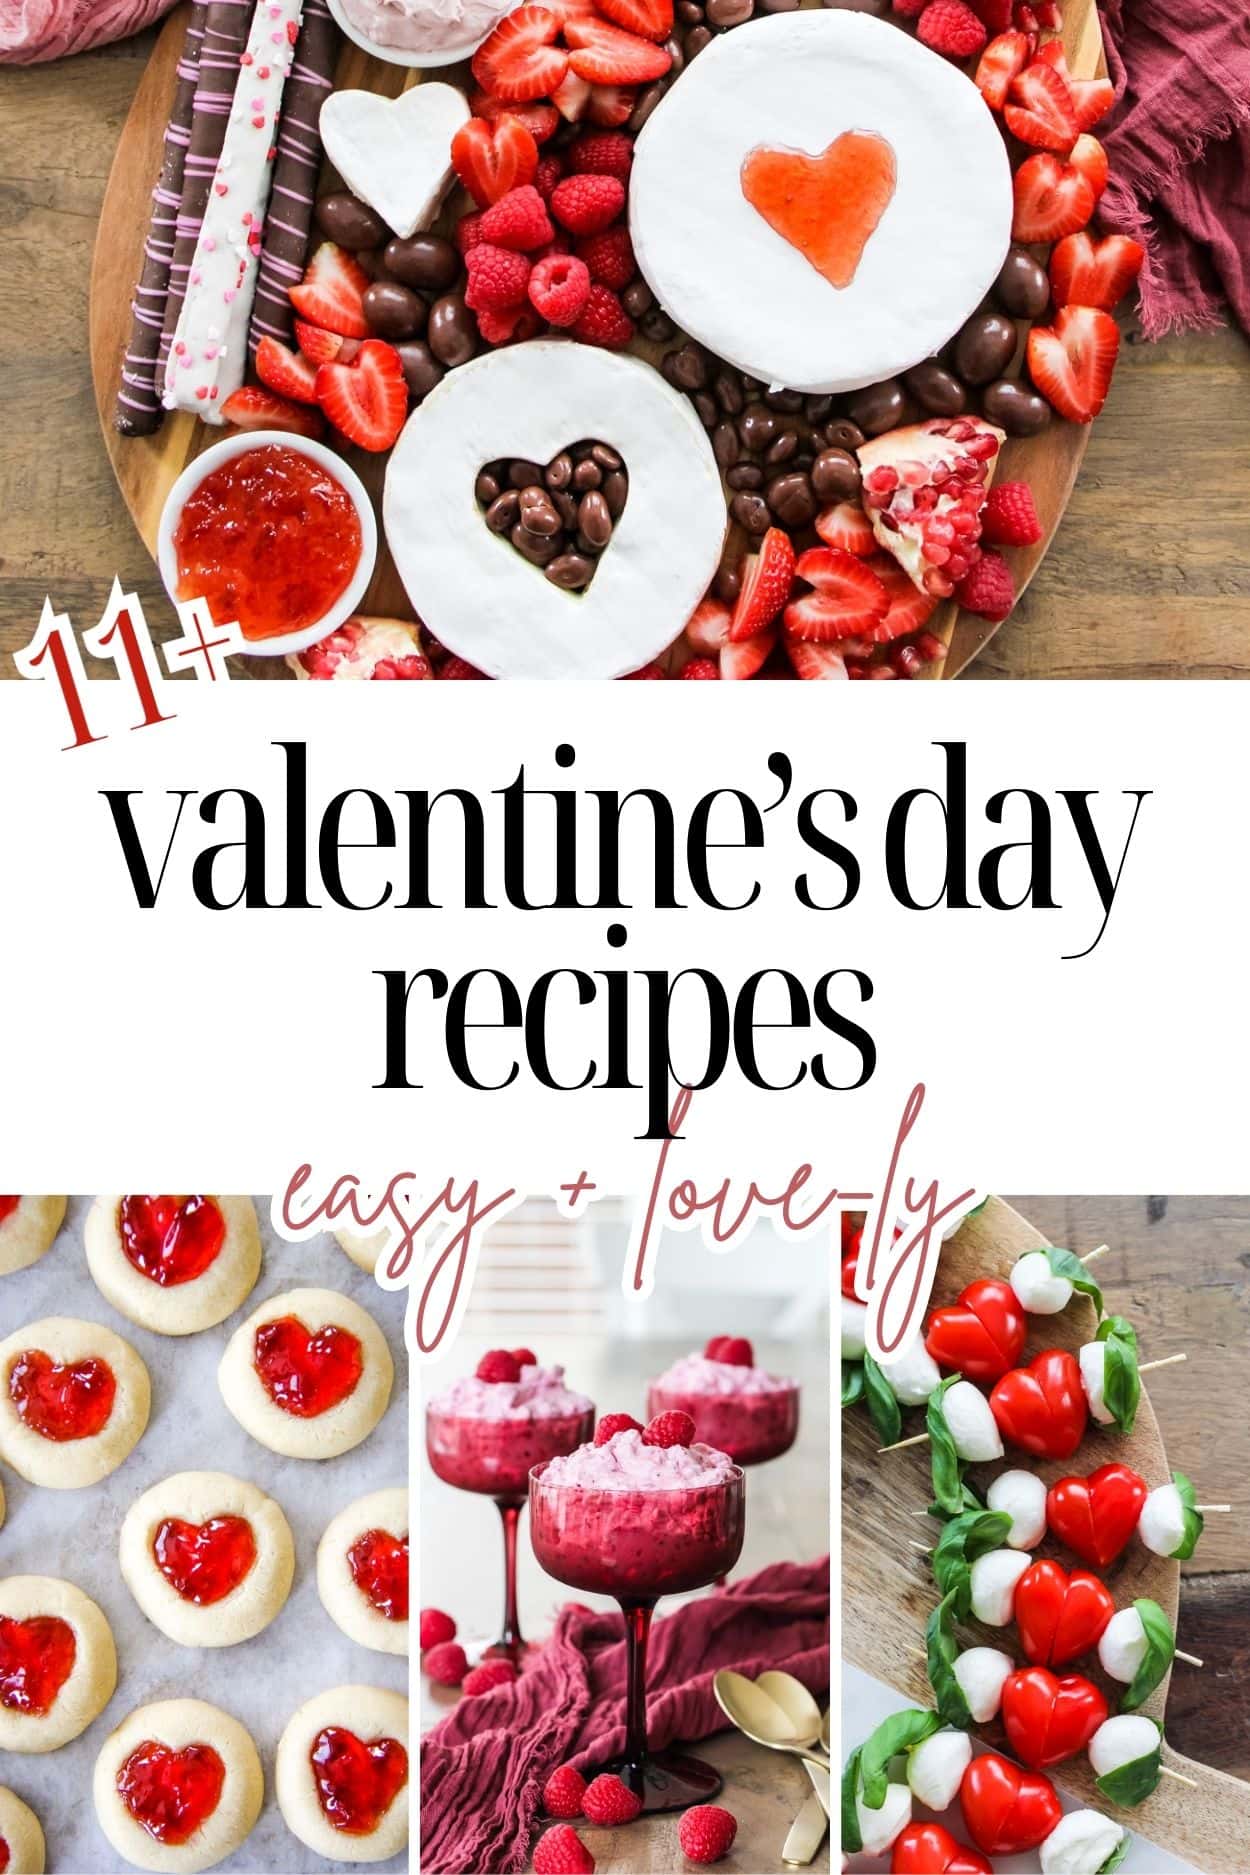
Cupid’s Cloud…A Valentines Day Dessert

Valentines Day is 10 days away!
It kind of feels like we’ve been surrounded by the day since December 31 doesn’t it?

I love the whole sentiment of Valentines Day, so we do mark the day, but I don’t get too fussy over here.  The hubby gets a card if he’s lucky, hahaha!  I buy store bought Valentines for the kids (gasp), and there aren’t any boxes of chocolate for the big day (the kids get enough at school…I swear Valentines Day seems to have turned into Halloween as far as candy goes).  I do however, stock up on cinnamon hearts but that’s just because they’re the best!

Instead we like to do simple things like have a nice dinner together and celebrate with a little fancy dessert!

This dessert is so perfect for Valentines Day for the whole family.  It feels and looks fancy, but it isn’t!  In fact it will take you less than 15 minutes to make, and you can make it well in advance so it’s ready at dessert time.  No muss, no fuss.  Just a simple & delicious dessert.

It’s sweet, rich, fluffy and bursting with raspberry freshness!
Yum.  Like a little taste of summer sunshine in the middle of winter!

Let’s get started…you are only 4 ingredients to scrumptiousness!

Cupid’s Cloud…A Valentines Day Dessert
 

Ingredients
  • 1 cup whipping cream
  • 1 tbsp sugar
  • ½ tsp vanilla
  • 2 cups frozen raspberries (see notes)
  • ½ cup sugar

Instructions
  1. In a mixer, whip together the whipping cream, 1 tbsp sugar, and the vanilla. Set aside.
  2. In a food processor blend together the frozen raspberries and ½ cup sugar.
  3. Once the raspberries have been blended, fold them in to the whipping cream.
  4. Evenly distribute the dessert between 4-5 dessert cups or fancy glasses.
  5. Refrigerate until you are ready to eat them! (see notes)

Notes
Things to Note:
- You can make this dessert in the early afternoon of the same day that you are going to eat it. That way it will be ready for dessert when you are!
- You can use any type of fruit that you would like: strawberries, blueberries, mango.
- I like to use frozen fruit for this because it doesn’t get pureed down like fresh fruit does. But either type is delicious and works for this dessert.

Recipe from Chef Michael Smith

It doesn’t have to be complicated to be delicious!
Have an inspired day!

Yummy Linking:  Home Stories AtoZ, Chef in Training, The Winthrop Chronicles, Delightful Order, Kitchen Fun with My 3 Sons, Whipperberry, Funky Junk Interiors, Your Homebased Mom, What’s Cooking with Ruthie

Conversation Heart Goodie Wrapping

Hi!  I’m so happy you are here!

Today I wanted to show you this simple & fun little Valentines Day project for your home made treats!
I swore to myself that I wasn’t going to post one Valentines goodie or project until at least February 1, but I just couldn’t wait!  It’s just so nice to see all the luv around, so why not spread it!  We could all use a little more love in our lives, couldn’t we!

So this project is basically the same as the wax paper wrapping I made for my treats at Christmas time.  When I made those I was thinking how great they would be for Valentines day!  So many possibilities for this easy to make, super-pretty wrapping for all of your goodies!

And what says Happy Valentines Day more than conversation hearts?
Or ‘I Love You’ (or like you a lot) more than a home made treat!

 Make up a batch of cookies, or a loaf, or buy some candy, and wrap them up with this pretty love paper!
So simple & cute!

Here’s How To:

All you need is wax paper, some pretty paper in different colours, a heart punch, a pen, and an iron.

Using your heart punch, make some hearts in different colours.

Write little messages on the hearts:

  • I Love You
  • Hug Me
  • xoxo
  • Be Mine
  • Crazy 4 U
  • Kiss Me

Sprinkle them on one sheet of wax paper, making sure to have the words all facing up.

Top with another sheet of wax paper.

Lay down a plain sheet of white paper to protect your iron.

Iron the sheet.

All done!

Now all you have left to do is wrap up your homemade treats!

I love projects that aren’t complicated!
Remember, it doesn’t need to be elaborate or expensive to be great!

Have an inspired and love-ly day!

 Lovely Linking: Chef-in-Training, My Uncommon Slice of Suburbia, Craftberry Bush, The Frugal Girls, Blissful & Domestic, Whipperberry, Positively Splendid

3D Valentine Paper Heart Garland

Hello everyone!
It has been too long since I posted last!
Got a little Valentines Day craft for you today!
Our house has been a bit neglected over the last month or so, 
with so many things that have been going on in our lives.
So last weekend the kids and I decided it was time to get our festivities on!
We took an afternoon together, and pulled out my scrapbook paper stash 
to make some simple and festive Valentines Day decorations.
We made a 
I had in my mind that I wanted to make some of these 3D paper hearts 
that I had seen and pinned onto my board on Pinterest.
When I went to make them there wasn’t a tutorial at the time, so I just took a guess on how they were made.  But just recently (today) I saw that a tutorial was put up and I see that I actually made mine different – I used 3 hearts instead of 4.  So either method would work…4 would be pretty cool though…
Ok but seriously, could my hands look any drier?!  
Good golly…I only have about 20 bottles of hand creme around here, you’d think I could use some?!
Then to finish it off, in the centre of the top of the heart, (like above)
I glued in a 7 inch piece of string, so that I could hang them.
To put together the garland, I tied the string in the hearts onto another piece of string that was long enough to span my mantel.  I just tied them on by making little bows.   (see below)
So pretty easy, right?!  It’s also a great project to do with your kids!
Simple and festive.  

Related Posts Plugin for WordPress, Blogger...